MetaMask Setup
MetaMask is currently the recommended wallet as it can correctly render balances for both EVM on both NVNM Chain and NVNM’s Parent L1: MANTRA Chain.
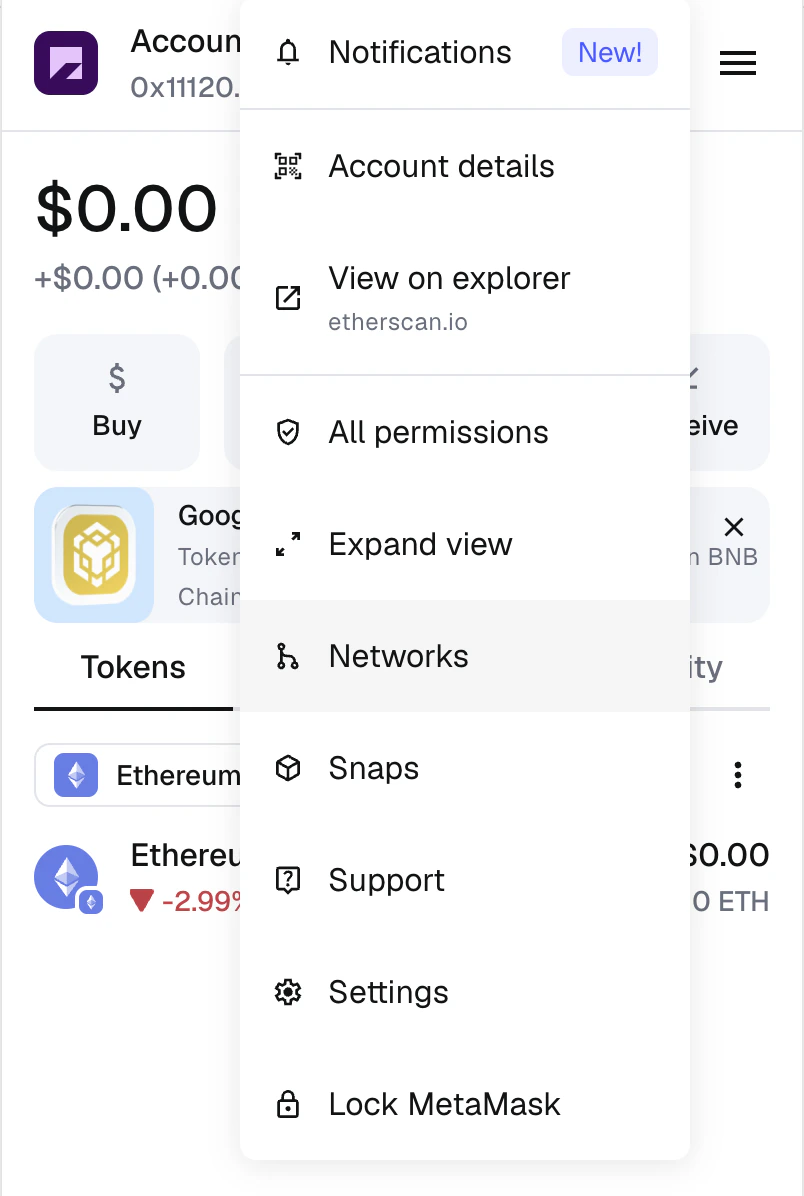
Add the NVNM Testnet Network
Open MetaMask and select the network dropdown (top-right corner) to add a custom network with the following details:

| Parameter | Value |
|---|---|
| Network Name | NVNM Testnet |
| RPC URL | https://evm.testnet.nvnmchain.io |
| Chain ID (EVM) | 787111 |
| Currency Symbol | NVNM |
| EVM Block Explorer URL | https://explorer.evm.testnet.nvnmchain.io |
Keplr Setup
Install Keplr Wallet
Navigate to https://keplr.app/ and install the Keplr Wallet extension compatible with your browser. Keplr Wallet is essential for managing your crypto assets on the Cosmos ecosystem.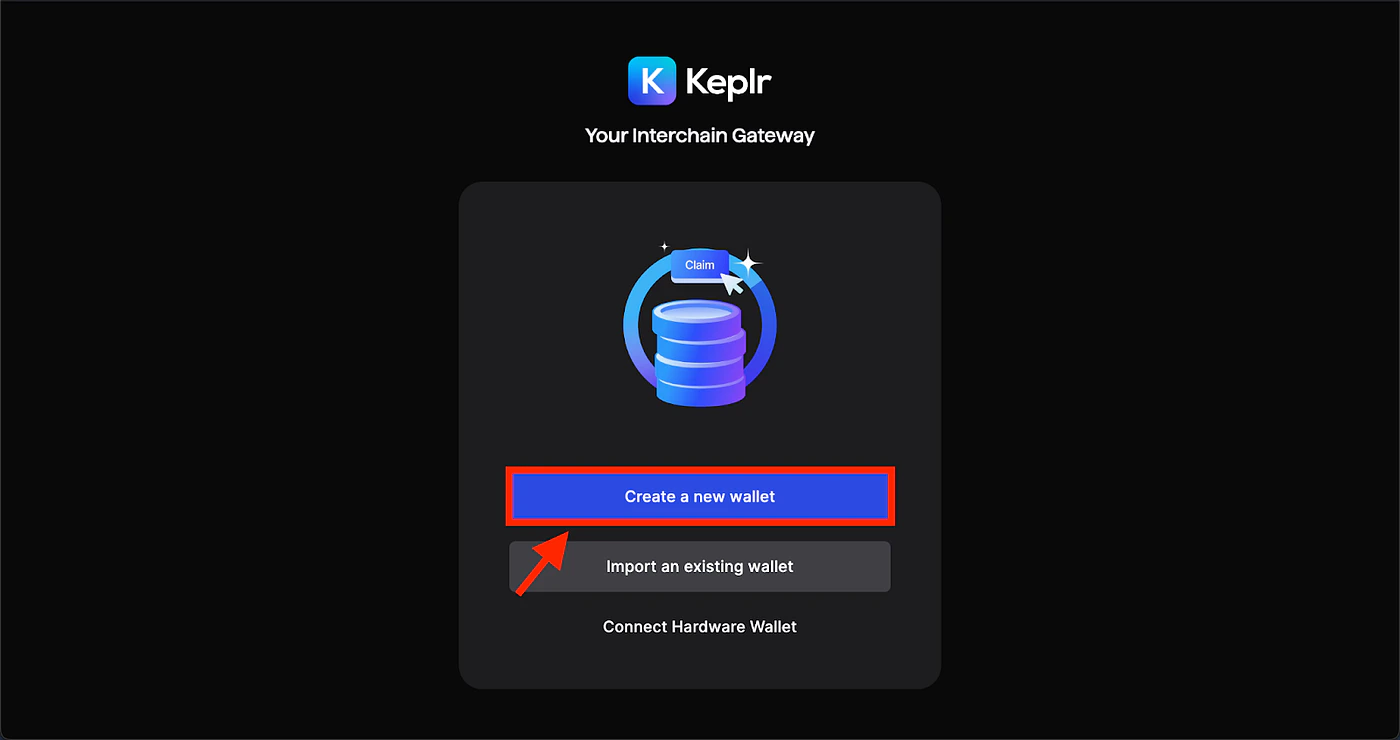
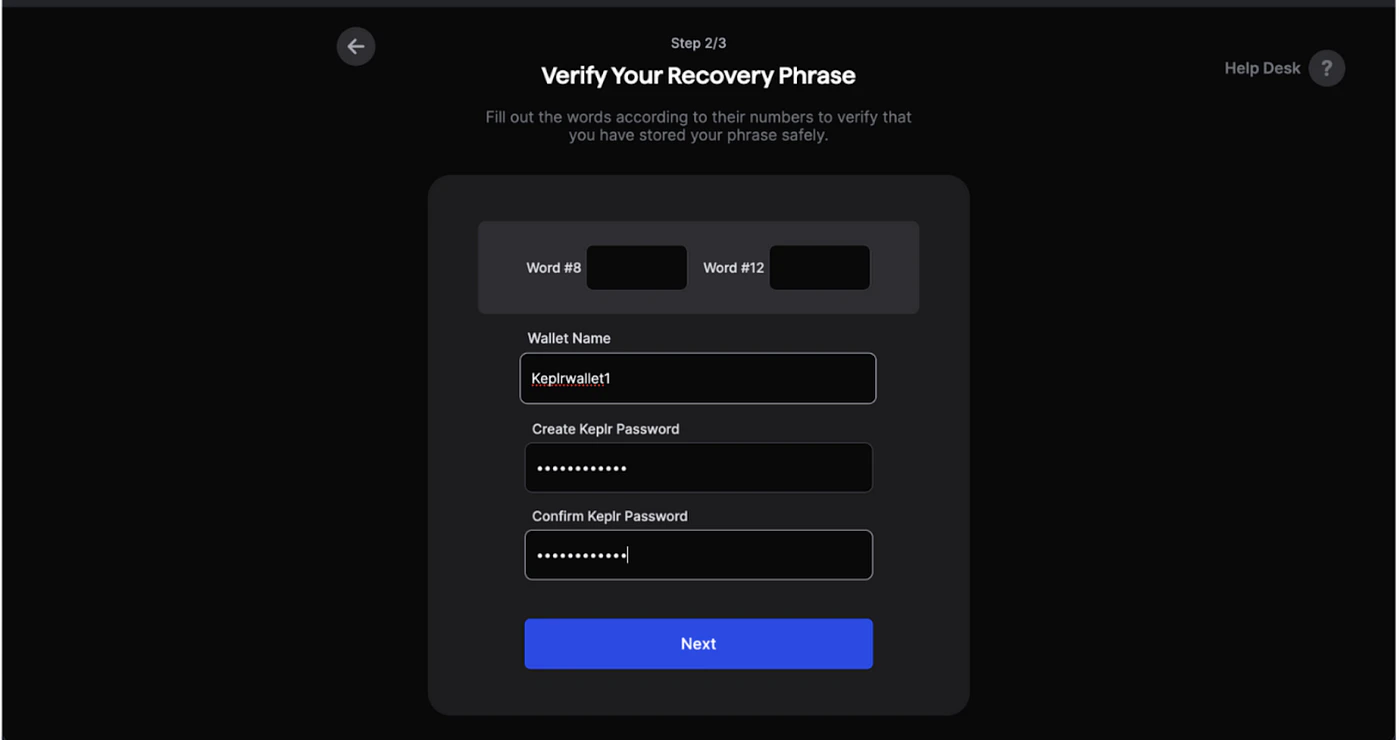
Set Up Keplr Wallet
Add a wallet name, set up a password, and secure your seed phrase or recovery phrase.